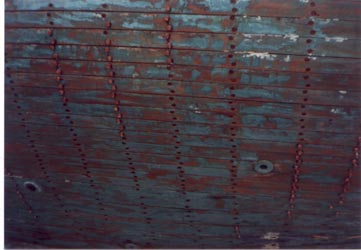
 Alestra had to be refastened below the waterline when I acquired her. This
meant that the bottom paint had to be scraped so that one could find the
fasteners, then clean off the putty then covering them, then clean out the
head of the screw, then attempt to unscrew it. If the head stripped off
because of corrosion (about 35-40% of the time) the screw was then drilled
down the center and removed with an "easy out", the hole was then re-drilled,
with a tapered bit, the new, one size wider screw inserted and screwed down.
To make sure the planks set properly, all the caulking in the seams had to be
removed using a narrow window scraper, or the end of a file bent into a hook.
This is a section of the bottom, part way through the bunging process.
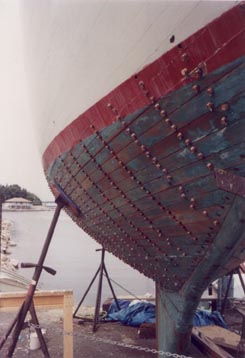 The starboard side is almost bunged. This chore involved picking up a
mahogany bung, putting it into the jaws of a pair of pliers I was holding in
the other hand, orienting the grain as I placed it. Then it was dipped in a
small container of epoxy, allowed to drip a moment, then placed at the hole,
and tapped into place.
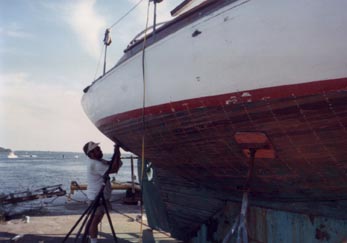 Eventually all the bungs were cut and faired into place, the final bung
fairing being a 5,000 r.p.m. Makita sander with 80 grit paper in it. Then
came the caulking. Alestra had about 3,000 lineal feet of seams. The 5 rows
up from the garboard had cotton in them, but after that it was just the
polysulfide. I treated myself to an air powered caulking gun for this step.
Since I am a builder anyway, the combination of career and wooden boat gave
me an excuse to buy pretty much any tool it thought I needed and could afford.
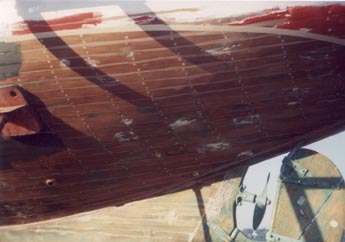 One of the problems with refastening below the waterline is that there is
nothing to "show off". The bungs are all cut and faired in, the seams are
finally caulked. By the time the plugs were all faired in, pretty much the
entire bottom had been stripped of paint, and was topside smooth. Seems
almost a shame to cover it all in bottom paint and submerge it.
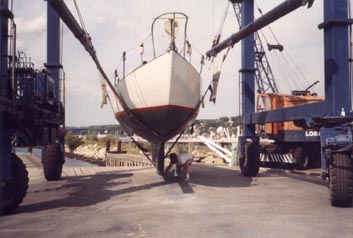
Finally the moment is approaching. Touching up where the poppit pads rested and where the keel blocks were set.
 My then wife, Felise does the honors. We launched on August 1, 1991. At the
time I had calculated it had taken us just under 600 man/hours (person
hours?). We worked every weekend from April 15 onward, and in June, when
the days were long, I would frequently leave my jobsite early and run down
(an hour's drive) to get one or two ribs in before nightfall. Friends started
to help on weekends by the end of June. I was afraid if I ever lost the
momentum before the boat went into the water, I might never get going again.
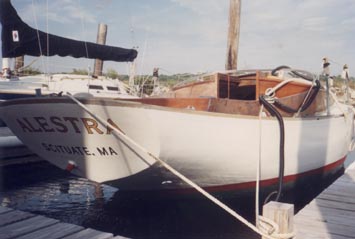 When a wooden boat has been out of the water for an extended period of time,
she leaks faster than a sieve when initially launched. Alestra had to hang in
the slings for 2 hours before the inflow slowed enough to be handled by a
standard sump pump. Alestra had been out long enough (several years) that it
was deemed necessary to let her "take up" for ten days before we set the deck
stepped mast.
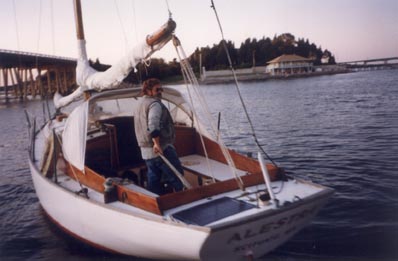 After Alestra had sat long enough to step the mast, we found there was some
leakage. I installed the solar panel, a Solarex MX30. It worked very well.
The engine had the original 10 amp generator on it, and it did not work. For
4 years I ran the engine when I needed it, and used lights at night, with
just the juice the panel gave me. When the overheating finally bothered me
enough to install an electric cooling pump, I had to install an alternator.
- Carl Alberg
- Alberg's designs
- Anecdotes
- Kurt Hansen
- Wooden Alberg designs
- Alestra or Venture IV or Fortitude
- Katuna
- Serenity or Watusi, a US One Design
- Wemba


